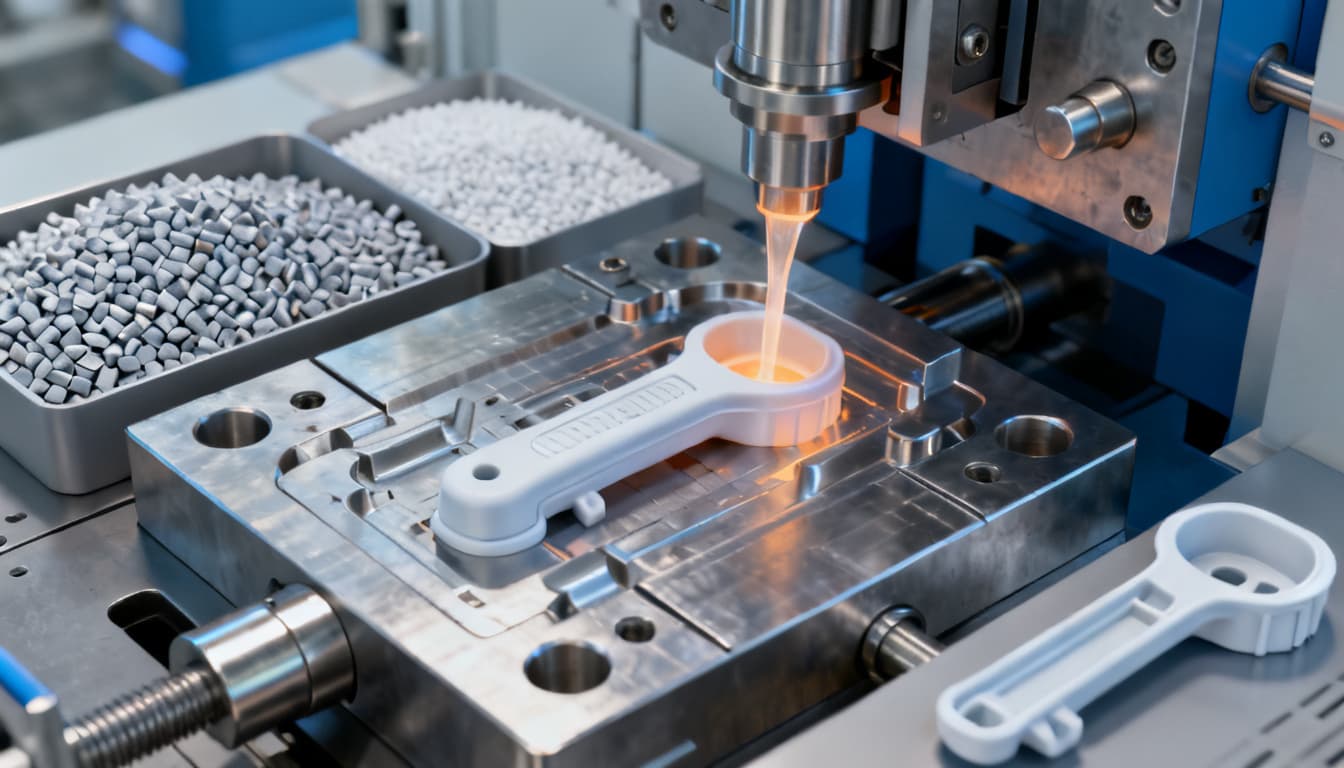
A Step-by-Step Guide to Medical Device Injection Molding: From Material Selection to Process Validation
Every medical device engineering team faces the same tension: deliver a part that meets uncompromising safety and regulatory standards while keeping per‑unit costs under control and hitting aggressive launch timelines. Injection molding sits at the center of that tension. When you move from prototyp
A Step-by-Step Guide to Medical Device Injection Molding: From Material Selection to Process Validation
The High Stakes of Medical Injection Molding: Cost, Compliance, and Patient Safety
Every medical device engineering team faces the same tension: deliver a part that meets uncompromising safety and regulatory standards while keeping per‑unit costs under control and hitting aggressive launch timelines. Injection molding sits at the center of that tension. When you move from prototype to production, the decisions you make about materials, tooling, and process validation ripple through your entire program—affecting everything from biocompatibility documentation to supply chain resilience.
Injection molding demands significant upfront investment. As Meridian Medical notes, tool manufacturing and validation can extend lead times, but those costs amortize quickly once you reach medium to large volumes. The per‑part economics flip in your favor, often making injection molding the only financially viable route for commercial‑scale medical devices. Yet the path to that cost advantage is paved with regulatory requirements that simply don’t exist for general industrial parts.
Alternatives like 3D printing and CNC machining offer faster first‑article turnaround and lower initial investment, but they carry their own trade‑offs. KS Group highlights that additive and subtractive methods excel at prototyping and low‑volume customization, but struggle to match injection molding’s per‑unit cost at scale, material diversity, and established validation pathways. The table below quantifies the differences that matter most when you’re planning a medical device program.
| Comparison Metric | Injection Molding | 3D Printing (FDM/SLA) | CNC Machining | Selection Criteria & Failure Boundary |
|---|---|---|---|---|
| Per‑unit cost at 10,000 units | $0.50–$5.00 (material + cycle time) | $15–$80+ (slow build, post‑processing) | $8–$40 (machine time + material waste) | Injection molding wins above ~5,000 units/year; below that, additive or machining may be cheaper. |
| Lead time for first 100 parts | 8–16 weeks (tooling) + 1–2 weeks production | 3–10 days | 1–3 weeks | Use 3D printing for pilot builds; transition to molding for commercial launch. |
| Material range (medical‑grade) | Broad: PP, PC, PEEK, PEI, LSR, etc. | Limited: few ISO 10993‑certified filaments | Good: machinable medical plastics (PEEK, UHMWPE, etc.) | If your device needs a specific resin with master file, injection molding is often the only option. |
| Biocompatibility documentation | Resin suppliers provide master files; molded part tested per ISO 10993 | Material certifications scarce; process variability complicates validation | Stock shapes can be certified, but machining fluids introduce contamination risk | For patient‑contacting parts, injection molding offers the most mature regulatory dossier. |
| Process validation effort | Full IQ/OQ/PQ under ISO 13485; well‑established protocols | Evolving standards; process repeatability still a concern | Simpler validation but limited to low‑volume, non‑complex geometries | Choose injection molding when you need a validated, scalable process for FDA submission. |
| Ideal annual volume | >5,000 units | <1,000 units | 1,000–5,000 units (complex parts) | Cross the 5,000‑unit threshold and injection molding’s upfront tooling cost is quickly recovered. |
These trade‑offs make one thing clear: a rigorous material selection and process validation sequence isn’t optional—it’s the foundation of a successful medical device program. The following sections walk you through exactly how to build that foundation, from understanding what makes a plastic “medical‑grade” to locking down a validated production process that satisfies FDA expectations.
How Medical-Grade Plastics Differ: Biocompatibility, Sterilization, and Mechanical Demands
Medical‑grade plastics are not simply off‑the‑shelf resins with a premium price tag. They carry documented biocompatibility, strict change control, and full lot traceability—attributes that protect patients and streamline your regulatory submission. Crescent Industries emphasizes that material selection for medical devices must begin with the end‑use environment: Will the part contact tissue or blood? Will it undergo repeated sterilization? What mechanical loads will it see over its service life?
Biocompatibility is governed by ISO 10993, a family of standards that prescribe testing based on the nature and duration of patient contact. A housing that never touches the patient may need only basic cytotoxicity screening, while an implantable component demands exhaustive systemic toxicity, sensitization, and genotoxicity evaluations. The resin you choose must have a supplier‑supported regulatory file that aligns with these requirements.
Sterilization compatibility is equally critical. Common methods—autoclave (steam), ethylene oxide (EtO), gamma irradiation, and electron beam—can degrade polymers through hydrolysis, chain scission, or discoloration. A material that performs beautifully in a lab tensile test may embrittle after 50 autoclave cycles or yellow unacceptably after gamma exposure. The table below summarizes the workhorse medical thermoplastics and their typical behavior, drawing on the material lists from PTI and the selection guidance of Crescent Industries.
| Material | Key Mechanical Properties | Sterilization Compatibility | Biocompatibility (ISO 10993) | Typical Medical Applications |
|---|---|---|---|---|
| Polypropylene (PP) | Tensile strength 25–40 MPa; excellent fatigue resistance; low density | Autoclave, EtO, gamma (stabilized grades) | Widely available with master files; passes cytotoxicity, irritation | Syringes, specimen containers, inhaler bodies, disposable labware |
| Polycarbonate (PC) | Tensile strength 55–75 MPa; high impact strength; transparent | EtO, gamma; yellows with repeated autoclave | Medical grades meet USP Class VI and ISO 10993-5 | Surgical instrument handles, clear housings, IV connectors |
| PEEK | Tensile strength 90–100 MPa; continuous use to 260°C; radiolucent | Autoclave, EtO, gamma, e‑beam | Excellent; implant‑grade PEEK meets long‑term implant requirements | Orthopedic implants, spinal cages, dental abutments |
| Polysulfone (PSU) | Tensile strength 70–80 MPa; high heat resistance; transparent amber | Autoclave, EtO, gamma | Meets USP Class VI; widely used in reusable devices | Surgical trays, fluid handling manifolds, nebulizer components |
| Polyethylene (PE, UHMWPE) | UHMWPE tensile strength 40–50 MPa; exceptional wear resistance | EtO, gamma (crosslinked grades) | Implant‑grade UHMWPE has extensive clinical history | Joint replacement bearings, catheter tubing, prosthetic liners |
| ABS | Tensile strength 30–50 MPa; good toughness; easily colored | EtO, gamma; not recommended for autoclave | Medical grades available; typically for non‑patient‑contact housings | Equipment enclosures, diagnostic device shells |
| Polyurethane (PU) | Wide hardness range (70A–75D); excellent flexibility and abrasion resistance | EtO, gamma; some grades tolerate autoclave | Medical grades meet ISO 10993 for short‑term contact | Catheters, wound dressings, seals, tubing |
| PVC (flexible, medical grade) | Tensile strength 10–25 MPa; plasticized for flexibility | EtO, gamma; DEHP‑free grades available | Requires careful selection of plasticizers for biocompatibility | Blood bags, IV tubing, fluid collection systems |
This table is a starting point, not a final answer. The same polymer family can behave very differently depending on filler content, molecular weight, and additive package. Always request the resin supplier’s sterilization compatibility data and biocompatibility test reports for the exact grade you intend to mold. And remember: your part geometry—thick walls, sharp corners, molded‑in stresses—can amplify degradation mechanisms that are barely noticeable on a test plaque.
A 5-Step Process for Choosing the Right Resin for Your Medical Device
Selecting a medical‑grade resin is a multi‑variable optimization problem. The structured approach described by Arterex Medical and the process overview from Dajing Medical provide a practical framework that moves you from a blank sheet to a qualified material. Here’s how to apply it in your own development workflow.
Step 1: Define Functional and Environmental Requirements
Start with the part’s job description. List every mechanical load—static, dynamic, impact—along with the expected lifetime in cycles or years. Document the chemical environment: cleaning agents, disinfectants, bodily fluids, lipids, or drugs the part will contact. Specify operating temperature range, including any sterilization excursions. Capture dimensional tolerances and any optical or electrical properties. This requirements document becomes your material specification’s backbone and prevents you from being swayed by a resin’s impressive datasheet number that doesn’t actually matter for your application.
Step 2: Map Regulatory Constraints and Biocompatibility Needs
Determine the device classification (Class I, II, III in the US; Class I, IIa, IIb, III under EU MDR) and the nature of patient contact. A part that touches intact skin for less than 24 hours has a very different ISO 10993 test burden than a chronic implant. Identify which specific endpoints from ISO 10993‑1 apply—cytotoxicity, sensitization, irritation, systemic toxicity, genotoxicity, etc.—and confirm that candidate resins have existing data packages that cover those endpoints. If your device will be marketed globally, factor in EU MDR’s stricter requirements around CMR (carcinogenic, mutagenic, reprotoxic) substances and endocrine disruptors.
Step 3: Evaluate Sterilization Compatibility
List the sterilization methods your device will encounter, including any that end‑users might apply (e.g., repeated autoclaving in a hospital setting). Cross‑reference each method with resin supplier data. Pay attention to cumulative effects: a polycarbonate part may survive one gamma dose but embrittle after the maximum labeled dose. If your device will be sterilized by multiple methods, you need a resin that handles all of them. At this stage, eliminate any material that shows unacceptable color shift, mechanical property loss, or toxic byproduct formation under your sterilization conditions.
Step 4: Shortlist Materials Using Mechanical and Thermal Data
With functional, regulatory, and sterilization filters applied, you’ll typically have three to five candidate resins. Now compare their mechanical and thermal properties quantitatively. Look at tensile strength, flexural modulus, impact resistance (notched Izod), heat deflection temperature (HDT), and coefficient of linear thermal expansion (CLTE). Use databases like CAMPUS or supplier‑specific tools to generate side‑by‑side comparisons. Factor in moldability: melt flow index (MFI) affects how easily the resin fills thin walls and complex geometries. Also consider cost and regional availability—a material that’s perfect on paper but on 16‑week allocation can derail your launch.
Step 5: Prototype and Test with Molding Trials
Datasheets tell you how a material behaves in a standardized test specimen, not in your part. Commission a prototype mold—aluminum or soft steel—and mold actual parts under production‑representative conditions. Subject those parts to the full sterilization regimen, then perform mechanical testing, dimensional analysis, and biocompatibility testing on the sterilized samples. This step often reveals interactions that no datasheet could predict: warpage due to anisotropic shrinkage, stress cracking around inserts, or extractables that only appear after gamma irradiation. Iterate until you have a material and process combination that meets every requirement.
Tip: During material selection, identify at least one backup resin from a different supplier that meets the same specification. Global supply chains remain unpredictable, and having a pre‑qualified alternative can save months if your primary material goes on allocation.
Validating Your Process: ISO 13485, IQ/OQ/PQ, and FDA Expectations
Choosing the right resin is only half the battle. To turn that material choice into a production‑ready medical device, you must validate the injection molding process itself. Regulatory bodies expect documented evidence that your process consistently produces parts that meet all specifications. Seaskymedical provides a clear overview of the standards landscape, and PMC Plastics emphasizes that deep expertise in medical‑grade material selection must be paired with rigorous process controls.
The backbone of medical device manufacturing quality is ISO 13485, which specifies requirements for a quality management system. Within that system, process validation follows the familiar IQ/OQ/PQ framework, which aligns with FDA’s Quality System Regulation (21 CFR Part 820). The table below breaks down what each qualification stage entails for injection molding.
| Stage | Objective | Key Activities | Documentation Outputs |
|---|---|---|---|
| Installation Qualification (IQ) | Verify that the molding machine, auxiliary equipment, and tooling are installed correctly and meet specifications. | Confirm utility connections (water, air, electrical), calibrate temperature controllers and pressure transducers, verify mold fit and cooling circuit integrity, check safety interlocks. | IQ protocol and report, equipment calibration certificates, mold dimensional report, maintenance logs. |
| Operational Qualification (OQ) | Demonstrate that the process can produce acceptable parts across the intended operating range. | Design of experiments (DOE) to identify critical process parameters (melt temperature, injection velocity, hold pressure, cooling time), challenge high and low limits, measure part quality attributes (dimensions, weight, mechanical properties). | OQ protocol and report, process parameter window summary, capability study data, first article inspection reports. |
| Performance Qualification (PQ) | Prove that the process consistently produces conforming parts under production conditions over extended runs. | Run multiple production‑representative lots (typically three), monitor critical parameters in real time, perform statistical sampling for all specified attributes, assess long‑term stability. | PQ protocol and report, lot acceptance records, statistical process control (SPC) charts, final process control plan. |
Validation is not a one‑time event. Any change to the material, mold, machine, or process parameters requires a re‑validation assessment. A like‑for‑like material substitution may only need a bridging study and limited PQ runs, while a move to a different polymer family triggers full re‑validation, including biocompatibility and sterilization re‑qualification. Your validation master plan should define these triggers upfront so there are no surprises during a supply chain disruption.
Partnering with an injection molder that already operates under an ISO 13485‑certified quality system can compress your timeline significantly. They bring pre‑qualified equipment, established validation protocols, and a deep understanding of what FDA auditors look for—reducing the risk of a costly re‑validation cycle.
Medical Injection Molding FAQs: From Material Substitutes to Lead Time Realities
Q: What is the typical lead time for tooling and process validation on a new medical device mold?
A: Tooling can take 8–16 weeks depending on complexity, and full IQ/OQ/PQ validation often adds another 6–12 weeks. Early engagement with a molder experienced in ISO 13485 can compress this by running validation protocols in parallel with tool trials. If your program timeline is tight, discuss concurrent validation strategies during the tool design phase.
Q: How do I choose between a general-purpose resin and a medical-grade variant of the same polymer?
A: Medical-grade resins come with documented biocompatibility, change control, and lot traceability. If the part contacts the patient or fluid path, or must meet ISO 10993, a medical-grade variant is mandatory. For non-contact housings, a standard grade may suffice if supported by a risk assessment. However, even for housings, many teams opt for medical grades to simplify supply chain documentation and avoid questions during audits.
Q: Can I switch materials after validation without redoing the entire process?
A: Any material change requires a re-validation assessment. A like-for-like substitution (same polymer family, same supplier) may need only a bridging study and limited PQ runs. A different polymer class will trigger full re-validation, including biocompatibility and sterilization re-qualification. Always have a backup resin pre-qualified during initial development to minimize disruption if your primary material becomes unavailable.
Q: At what production volume does injection molding become more cost-effective than 3D printing or CNC machining for medical parts?
A: Typically above 1,000–5,000 units per year, injection molding’s per-part cost drops below additive or subtractive methods. The exact crossover depends on part complexity, material, and regulatory burden. Many teams use 3D printing for pilot builds and clinical trials, then transition to injection molding for commercial scale. The comparison table in Section 1 provides a more detailed breakdown.
Q: Which sterilization methods are most compatible with common medical plastics?
A: Polypropylene and polyethylene handle autoclave and EtO well; polycarbonate tolerates EtO and gamma but can yellow with repeated autoclaving; PEEK and polysulfone withstand all three. Always consult the resin supplier’s sterilization compatibility data and validate with your actual part geometry—molded-in stresses can dramatically change how a material responds to sterilization.
Q: What documentation does an injection molder need to provide for FDA submission?
A: Expect a Device Master Record (DMR) including material certifications, process validation protocols and reports (IQ/OQ/PQ), first article inspection reports, and evidence of a compliant quality system (ISO 13485 certificate). Full lot traceability records should be maintained for each production run. Your molder should also be prepared to support any FDA site inspections with batch records and deviation reports.
References & Further Reading
- Advantages of Injection Moulding in Medical Devices – Meridian Medical
- Plastic Injection Molding vs. Other Methods – KS Group
- How to Choose Materials for Plastic Injection Molding? – Arterex Medical
- Medical Device Injection Molding Process and Material Selection – Dajing Medical
- A Guide to Injection Molding Material Selection for Medical Devices – Crescent Industries
- Medical Injection Molding Regulatory Standards Guide – Seaskymedical
- Medical Device Injection Molding | ISO 13485 – PTI
- Medical Plastic Standards | Precision Injection Molding – PMC Plastics
- ISO 10993 – Biological evaluation of medical devices
- ISO 13485 – Medical devices – Quality management systems
- FDA Quality System (QS) Regulation / 21 CFR Part 820
Medical device injection molding is a discipline where material science, process engineering, and regulatory strategy converge. The steps outlined here—from defining functional requirements through full process validation—form a repeatable framework that reduces risk and accelerates time‑to‑market. When you’re ready to discuss your next medical device project, get a quote from our team of ISO 13485‑certified molding experts.