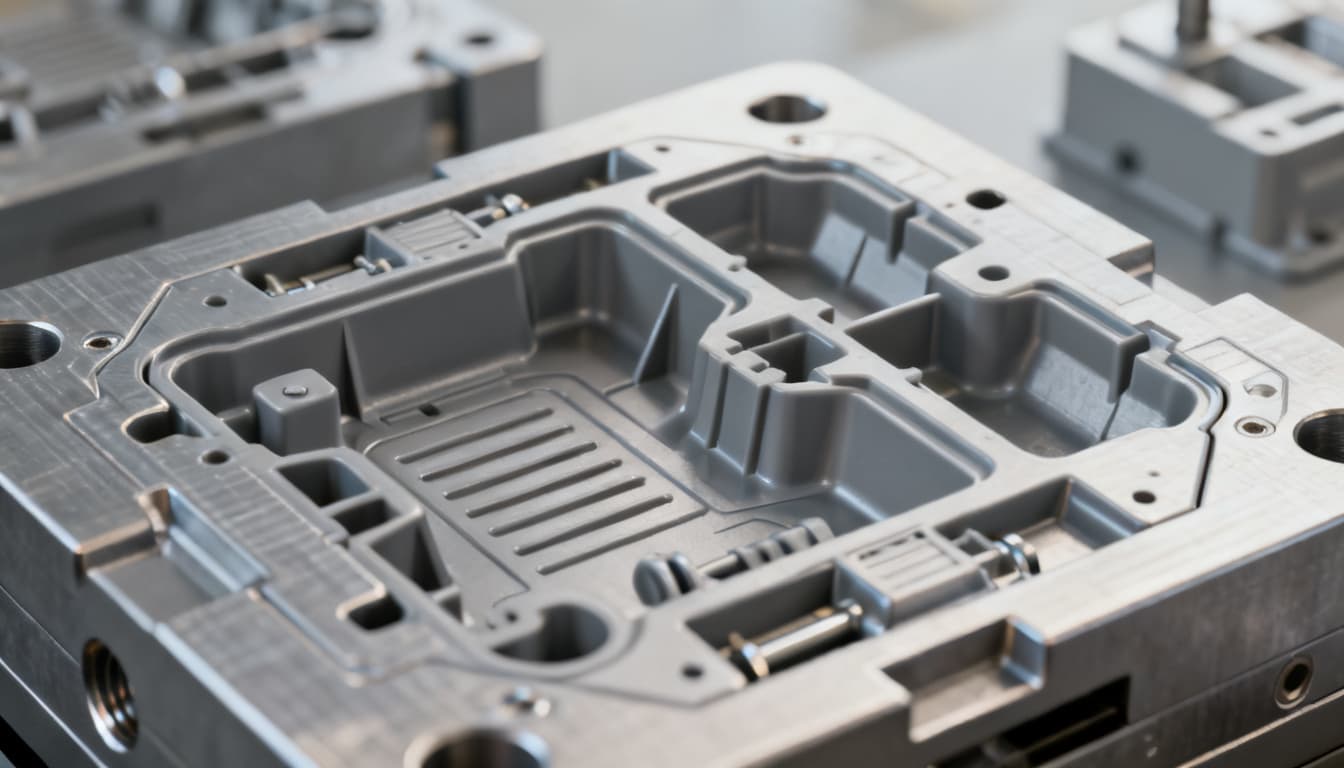
Overmolding or Insert Molding? An Engineer’s 3-Step Selection Framework
Multi-material parts are no longer a niche. Walk through any factory floor or hospital and you’ll find soft-grip power tool housings, connector seals that survive IP67 submersion, and surgical instruments with rigid bodies and compliant touch points. Yet in design reviews, the terms “overmolding” an
The Real Cost of Confusing Overmolding with Insert Molding
Multi-material parts are no longer a niche. Walk through any factory floor or hospital and you’ll find soft-grip power tool housings, connector seals that survive IP67 submersion, and surgical instruments with rigid bodies and compliant touch points. Yet in design reviews, the terms “overmolding” and “insert molding” are still tossed around as if they describe the same process. They don’t. And that confusion carries a price tag that compounds with every production run.
When an engineer specifies insert molding where overmolding would deliver a stronger, lower-cost bond, the result is often a part that works on paper but fails in the field. I’ve seen a medical device startup lose six months and $80,000 in retooling because they assumed a pre-formed silicone gasket inserted into a polycarbonate housing would match the seal integrity of a chemically bonded TPE overmold. It didn’t. The gasket crept under thermal cycling, and the device leaked during sterilization validation. That’s not a hypothetical—it’s the kind of quiet failure that never makes headlines but erodes margins and delays product launches.
As Plastics Technology regularly reports, advances in multi-shot molding and hot-runner control are making overmolding more accessible than ever, while insert molding remains the workhorse for metal-plastic hybrids. The strategic choice between them isn’t about which process is “better”—it’s about which one aligns with your functional requirements, volume, and tolerance for risk. This article gives you a practical 3-step framework to make that call before the mold steel is cut.
Key Takeaway: Treating overmolding and insert molding as interchangeable can inflate piece-part cost by 20–40%, extend cycle times, and introduce bonding failures that only appear after your product ships. The decision is a strategic trade-off, not a trivial process selection.
The Process Mechanics That Separate Overmolding from Insert Molding
At the most basic level, both processes create a single part from two different materials. But the sequence, tooling, and bonding mechanisms are fundamentally different. Understanding these differences is the foundation of the selection framework.
Overmolding starts with a substrate—usually a rigid thermoplastic—that is molded first. A second material, often a thermoplastic elastomer (TPE) or a different rigid resin, is then injected directly onto the substrate in the same mold (two-shot) or a second mold (pick-and-place overmolding). The bond forms while the second material is molten, creating a chemical or mechanical adhesion that can approach the strength of the base material. Two-shot overmolding on a rotary platen press can produce a finished part in a single machine cycle, eliminating secondary assembly.
Insert molding encapsulates a pre-formed component—a threaded brass insert, a stamped metal contact, a ceramic bushing, or even a machined plastic part—that is placed into the mold cavity before injection. The molten plastic flows around the insert, locking it in place mechanically as the plastic shrinks. There is no chemical bond between the insert and the overmolded plastic; retention relies on geometry (knurling, undercuts, flanges) and the compressive force of the cooling plastic. Inserts are typically loaded by hand, pick-and-place robot, or bowl feeder, adding a step to each cycle.
The table below captures the critical parameters that drive process selection.
| Parameter | Overmolding (Two-Shot or Pick-and-Place) | Insert Molding | Notes |
|---|---|---|---|
| Bond mechanism | Chemical (material compatibility) or mechanical (interlocking features) | Purely mechanical (shrinkage + insert geometry) | Chemical bond requires compatible melt temperatures and surface energy |
| Typical cycle time (high volume) | 15–30 seconds (two-shot rotary) | 20–45 seconds (including insert loading) | Insert loading adds 5–15 seconds; manual loading increases variability |
| Tooling complexity | High: two injection units or a second mold, precise alignment, often hot-runner | Moderate: single barrel, but mold must accommodate insert placement and retention | Two-shot overmold tooling can cost 2–3× a comparable insert mold |
| Material compatibility limits | Substrate and overmold must have overlapping processing windows; TPEs bond to many rigid thermoplastics | Insert can be any material that survives melt temperature and pressure; no chemical compatibility needed | Overmolding PEEK with a soft elastomer is challenging because melt temps are too close |
| Part geometry constraints | Undercuts can trap air; wall thickness transitions must avoid sink; gate location critical for bond line | Insert must be fully encapsulated or mechanically retained; sharp corners on inserts can cause stress risers | Overmolding requires a continuous bond surface; insert molding can embed discrete components |
| Dimensional tolerance | Overmold layer thickness ±0.1 mm typical; cumulative shrinkage from two materials | Insert position ±0.05 mm achievable with precise mold locating features | Insert molding offers tighter positional control for metal components |
| Assembly consolidation | Eliminates secondary bonding, gluing, or mechanical fastening | Eliminates post-mold insertion (e.g., heat-staking or ultrasonic insertion) | Both reduce part count, but overmolding often yields a more integrated assembly |
| Volume threshold for cost-effectiveness | >100k parts/year typically justifies two-shot tooling; lower volumes use pick-and-place | Economical from 5k–10k parts/year, depending on insert cost and loading automation | Insert molding has lower upfront tooling cost, making it attractive for mid-volume programs |
Notice that neither process is universally superior. Overmolding delivers a chemical bond that can seal against fluids and gases, but it demands compatible materials and higher tooling investment. Insert molding accepts almost any insert material—brass, stainless steel, ceramic, even pre-cured silicone—but the bond is only as strong as the mechanical interlock. If your design requires a hermetic seal or a soft-touch surface that won’t delaminate, overmolding is the default path. If you need to embed a threaded metal bushing that will see repeated torque, insert molding is the proven solution.
Side-by-Side: When Overmolding Wins and When Insert Molding Delivers Better Value
Moving beyond textbook definitions, the real decision lives in the application. I’ve worked on projects where both processes were technically feasible, but only one made financial and functional sense. The following matrix contrasts common scenarios, drawing on insights from Plastics Technology’s coverage of multi-material trends and real-world trade-offs.
| Comparison Metric | Overmolding Scenario (e.g., IP-rated connector seal) | Insert Molding Scenario (e.g., threaded brass bushing) | Selection Criteria & Failure Boundary |
|---|---|---|---|
| Primary function | Environmental sealing, vibration damping, ergonomic grip | Mechanical fastening, electrical conduction, wear resistance | If the secondary material must form a continuous seal, overmolding is mandatory; if it’s a discrete load-bearing point, insert molding excels |
| Bond strength requirement | High: must withstand pressure cycles, thermal shock, and sterilization without delamination | Moderate: insert retention relies on knurl depth and plastic shrinkage; pull-out force is predictable | Overmolding can achieve >10 MPa tensile bond strength with compatible TPE-substrate pairs; insert pull-out strength depends on insert design and plastic modulus |
| Material pair | TPE over PC/ABS, TPU over nylon, LSR over PBT | Brass insert in glass-filled nylon, steel pin in POM, ceramic in PEEK | If the insert material cannot survive the melt temperature (e.g., low-melting alloy), insert molding is impossible; overmolding requires melt compatibility |
| Typical cost drivers | Higher tooling cost (two-shot mold, rotary platen) but lower per-part cost at volume due to cycle time and assembly elimination | Lower tooling cost but higher per-part cost from insert price and loading labor/automation | At >500k parts/year, overmolding often yields a 15–25% lower total cost despite higher upfront investment |
| Quality risks | Air traps at the bond line, incomplete fill if venting is inadequate, substrate softening if melt temps overlap | Insert shift during injection, flash around insert, stress cracking from differential shrinkage | Both processes require rigorous process validation; overmolding adds the variable of chemical adhesion consistency |
Consider a handheld diagnostic device that needs a soft, sealed grip. Overmolding a TPE directly onto the ABS housing creates a chemical bond that eliminates the need for a separate gasket and adhesive. The per-part cost drops because you’re not buying a pre-formed rubber part or paying for manual assembly. In contrast, a power tool housing that requires multiple threaded brass inserts for motor mounting is a textbook insert molding application. The inserts are placed into the mold, the glass-filled nylon flows around them, and the resulting part can handle repeated screw torque without stripping. Trying to overmold a plastic boss to achieve the same thread strength would require a secondary operation like heat-staking, defeating the purpose.
One nuance that often gets overlooked: overmolding can also be used to encapsulate a rigid plastic insert, not just a soft elastomer. For example, a clear polycarbonate lens can be overmolded onto a black ABS frame in a two-shot process, creating a single part with a transparent window. This is still overmolding because the second shot bonds to the first, but it blurs the line with insert molding. The distinction is the bond: if the second material chemically adheres to the first, it’s overmolding; if it merely shrinks around a discrete component, it’s insert molding.
Applying the 3-Step Framework to Select Between Overmolding and Insert Molding
With the process fundamentals and application trade-offs clear, you need a repeatable way to evaluate your specific part. The following three steps will guide you from functional requirements to a validated production process.
Step 1: Define Functional Requirements
Start by listing what the secondary material must do. Is it a seal that must pass IP67 or IP69K testing? A grip that needs a specific durometer and haptic feel? An electrical insulator that must withstand 5 kV dielectric strength? Or a structural component that transfers load? This determines whether a chemical bond (overmolding) or a mechanical interlock (insert molding) is necessary. For seals, overmolding is almost always required because only a molecular bond can prevent fluid ingress along the interface. For threaded inserts, the mechanical retention of insert molding is sufficient and often more robust than trying to mold threads in plastic.
Also consider thermal cycling and sterilization. Overmolded bonds can degrade after repeated autoclave cycles if the TPE and substrate have different coefficients of thermal expansion (CTE). Insert-molded metal components, on the other hand, can cause stress cracking in the surrounding plastic if CTE mismatch isn’t managed with compliant geometry. These are the failure modes that surface in validation, not in CAD.
Step 2: Assess Production Economics
Volume is the biggest lever. The table below summarizes the economic breakpoints I use when advising product teams. These numbers are based on typical Chinese and North American molding rates and assume a part with moderate complexity.
| Economic Factor | Overmolding (Two-Shot) | Insert Molding (Manual Load) | Insert Molding (Automated Load) | Guidance |
|---|---|---|---|---|
| Tooling investment (relative) | 2.5–3.5× base mold cost | 1.0× (single-cavity mold with insert features) | 1.2–1.5× (mold + automation integration) | Amortize tooling over program volume; overmolding breaks even around 150k–250k parts |
| Cycle time (seconds) | 18–28 | 30–45 | 25–35 | Insert loading is the bottleneck; automation can narrow the gap |
| Piece-part cost (relative) | 0.7–0.9× (no insert, no assembly) | 1.0× (includes insert cost + labor) | 0.85–0.95× (insert cost + automation amortization) | Overmolding eliminates the insert as a purchased component, often the largest single cost |
| Assembly consolidation savings | High: eliminates gasket, adhesive, or mechanical fastening steps | Moderate: eliminates post-mold insert installation | Same as manual, but with lower labor | Calculate total landed cost, not just piece price |
| Volume flexibility | Low: dedicated two-shot mold; changing overmold material requires new mold or insert | High: insert can be changed without mold modification if geometry is the same | High, but automation may need reprogramming | If you anticipate material changes or multiple insert variants, insert molding offers more agility |
Don’t forget to factor in quality costs. Overmolding eliminates a secondary assembly step, which removes a potential source of human error—misaligned gaskets, missed adhesive application. Insert molding, when done manually, introduces variability in insert placement that can lead to shorts or mechanical interference. Automated insert loading mitigates this but adds capital expense.
Step 3: Validate with Prototyping and DFM
Before committing to production tooling, prototype the critical interface. For overmolding, you can use a pick-and-place approach with a single-cavity mold and a manually loaded substrate to simulate the bond line. Adhesion testing per ASTM D413 (peel) or a simple tensile pull-off fixture will tell you if the material pair works. For insert molding, 3D-printed plastic inserts with the same geometry can be used in a soft mold to check for insert shift and flash. Don’t skip thermal cycling: I’ve seen overmolded seals pass room-temperature leak tests only to fail after three cycles from -40°C to 85°C because the TPE pulled away from the substrate.
Common pitfalls to avoid:
- Undercuts that trap air: In overmolding, the second shot must vent perfectly. A deep undercut can create a dead zone where air compresses and prevents complete fill, leaving a void at the bond line.
- Shrinkage mismatch: If the overmold material shrinks more than the substrate, it can warp the part or create residual stress that leads to delamination over time.
- Insert geometry that invites stress risers: Sharp corners on a metal insert concentrate stress in the surrounding plastic, especially with glass-filled resins. Always specify generous radii.
- Ignoring gate location: In overmolding, the gate for the second shot must be positioned so the melt front pushes air out of the bond area, not trap it. This often requires mold flow simulation.
Engaging an experienced molder early in the design phase can save weeks of iteration. A partner like Panda Molding can provide DFM feedback on gate placement, venting, and material pair recommendations based on real production data, not just resin datasheets. Their engineers have seen which TPEs bond reliably to which substrates and can steer you away from combinations that look good in a lab but fail in a 500,000-cycle production run.
Overmolding vs. Insert Molding: Questions Engineers and Buyers Actually Ask
Q: How do I decide between overmolding a TPE grip directly onto a housing and insert molding a pre-formed rubber part?
Overmolding a TPE grip offers a chemical or mechanical bond without secondary assembly, ideal for high volumes and complex geometries. Insert molding a pre-formed rubber part is better when the elastomer requires a different cure or durometer that can't be injection molded, or when prototyping demands lower upfront tooling cost. Evaluate bond strength requirements and whether the design can tolerate the higher tooling cost of a two-shot overmold. If you need a 70 Shore A grip that must survive 100,000 cycles without peeling, overmolding is the answer. If you’re testing the market with 5,000 units and need a 40 Shore A silicone feel, insert molding a pre-cured part may be more practical.
Q: What are the typical tolerance capabilities for insert molding metal components versus overmolding plastic substrates?
Insert molding can hold the position of a metal insert to ±0.05 mm or better if the mold is designed with precise locating features. Overmolding a second plastic shot onto a substrate typically adds a layer thickness tolerance of ±0.1 mm, depending on material shrinkage and mold alignment. Critical dimensions should be validated with a capability study, as multi-step processes introduce cumulative variation. For a connector with 0.4 mm pitch pins, insert molding is the only way to maintain true position; overmolding a plastic shell around those pins would introduce unacceptable variation.
Q: Can I switch from insert molding to overmolding mid-program without retooling?
Almost never without significant retooling. Insert molding uses a mold designed to hold a discrete component; overmolding requires a mold that can inject a second material onto a substrate, often in a separate station or via a two-shot barrel. Converting usually means new mold bases, different gate locations, and possibly a different press. The only exception is when the original mold was designed with future overmolding in mind, which is rare. I’ve seen one case where a mold was built with interchangeable cores to allow both processes, but the cost and complexity were justified only by a 2-million-part annual volume.
Q: What bond strength testing methods are recommended for overmolded seals in medical devices?
For medical-grade overmolded seals, tensile pull-off testing per ASTM D413 or peel testing per ASTM D903 are common. Leak testing (pressure decay or helium mass spectrometry) verifies seal integrity. Always test after sterilization and thermal cycling, as bond strength can degrade. Document results in a design history file if the part is FDA Class II or III. I recommend a minimum of 30 samples per sterilization condition to establish a statistically significant acceptance criterion.
Q: How does cycle time compare for a high-volume overmolded connector versus an insert-molded bushing?
An overmolded connector using a two-shot rotary platen press can achieve cycle times of 15–25 seconds because both materials are injected in the same machine cycle. Insert molding a bushing often requires manual or robotic insert loading, adding 5–15 seconds per cycle, plus the base material injection time. At volumes above 500k parts/year, overmolding typically yields a lower per-piece cost despite higher tooling investment. For a 1-million-part program, the cycle time advantage alone can save $0.03–0.05 per part, which adds up quickly.
Q: Are there material compatibility limitations that make insert molding the only option for certain metal-plastic combinations?
Yes. When a metal insert must be electrically insulated from the plastic but the plastic cannot be molded around it due to extreme temperature differences (e.g., soldering a brass terminal after molding), insert molding is the only choice. Some high-temperature thermoplastics like PEEK cannot be overmolded with a soft elastomer because the melt temperatures are too close, causing substrate softening. In such cases, insert molding a pre-cured silicone gasket is a viable alternative. Similarly, if the insert is a ceramic with a CTE near zero, overmolding with a high-shrinkage plastic would crack the ceramic; insert molding with a compliant plastic grade is the safer path.
References & Further Reading
- Plastics Technology — Injection molding industry news and technical articles on multi-shot molding.
- Panda Molding — Professional injection molding services with DFM expertise.
- ASTM D413 — Standard Test Methods for Rubber Property—Adhesion to Flexible Substrate.
- ASTM D903 — Standard Test Method for Peel or Stripping Strength of Adhesive Bonds.
- Plastics Industry Association — Resources on material selection and processing guidelines.
- ISO 10993 — Biological evaluation of medical devices (relevant for overmolded medical parts).
- Panda Molding Contact — Request a quote or DFM consultation for your overmolding or insert molding project.
Choosing between overmolding and insert molding is not a one-size-fits-all decision. It’s a strategic engineering choice that affects part performance, tooling budget, and long-term production cost. By applying the three-step framework—defining functional needs, analyzing economics, and validating with prototypes—you can avoid the costly mistakes that come from treating these processes as interchangeable. When in doubt, lean on the experience of a molder who has navigated these trade-offs across hundreds of programs. The right partner will help you move from a CAD model to a production-ready part with confidence.
Ready to discuss your next multi-material project? Get a quote from Panda Molding’s engineering team and get DFM feedback that catches process mismatches before they become tooling regrets.