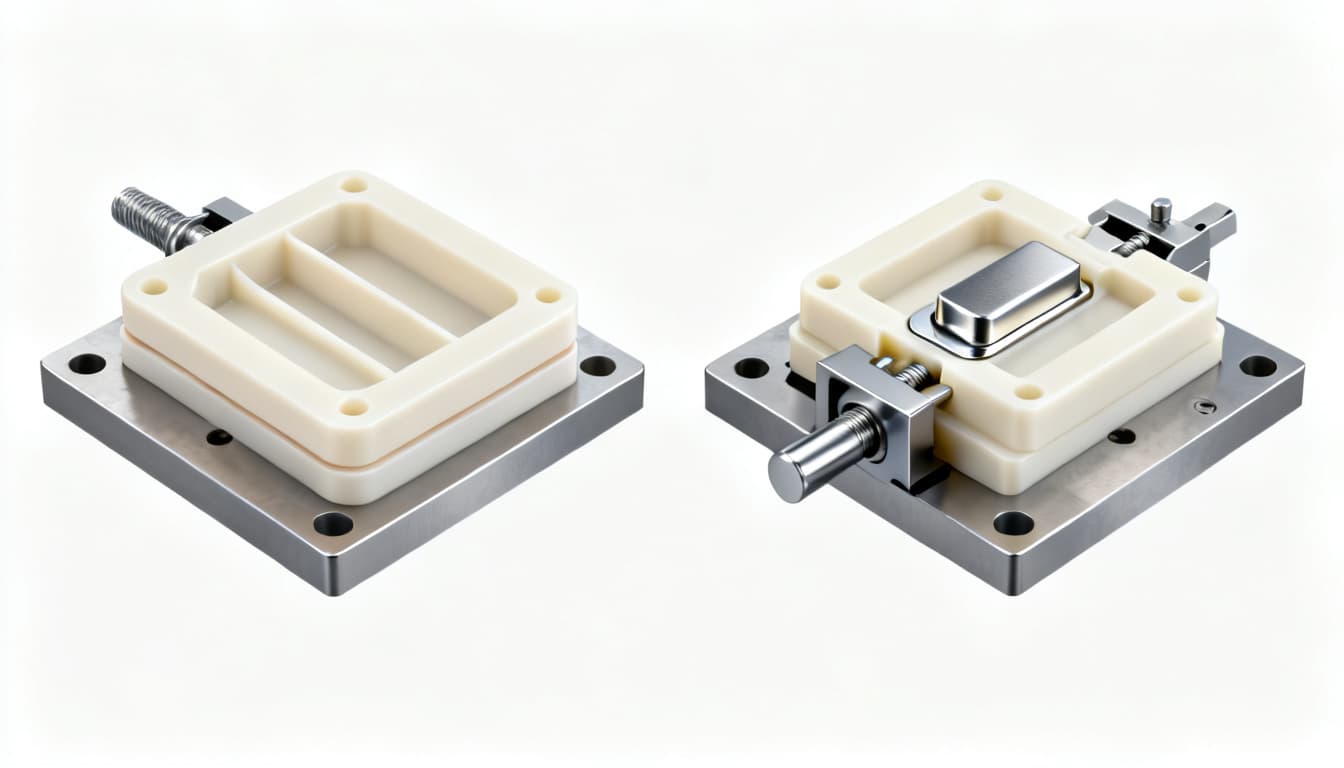
Overmolding vs. Insert Molding: Cost, Cycle Time, and Bond Strength Data Compared
Not long ago, a medical device team running a PEEK overmolding application hit a wall: 25% of parts were scrapped due to delamination and micro-cracking at the bond line. The assumption was that a simple material switch would fix it. Instead, a formal failure analysis and a production-proven anneali
The 25% Scrap Wake-Up Call: Why Multi-Material Process Selection Now Demands Data
Not long ago, a medical device team running a PEEK overmolding application hit a wall: 25% of parts were scrapped due to delamination and micro-cracking at the bond line. The assumption was that a simple material switch would fix it. Instead, a formal failure analysis and a production-proven annealing protocol—developed after mapping residual stress through the entire thermal history—brought the line to near-zero defects. That case, documented by LSRPF’s engineering team, is a blunt reminder that overmolding and insert molding are not interchangeable black boxes. The scrap rate dropped only when the team stopped guessing and started treating process selection as a data-driven decision.
You’re likely facing the same pressure. Product engineers and injection molding buyers are being asked to eliminate delamination, shave seconds off cycle times, and justify every tooling dollar with hard numbers—not tribal knowledge. The confusion is real: a design guide from RpProto highlights that mismatched material pairs, inadequate wall thickness, and overlooked undercut rules remain the top reasons overmolded parts fail in first-article inspection. Their overmolding DFM analysis shows that even experienced teams often underestimate the impact of differential shrinkage on bond integrity. Meanwhile, the same firm’s insert vs. overmolding comparison reveals that many buyers default to insert molding for cost reasons, only to discover that at scale the financial break-even flips dramatically. The selection confusion is costly: picking the wrong process can double your per-part cost or lock you into a manual-labor bottleneck that kills margins.
APT-Mold’s financial break-even analysis confirms that cost assumptions often invert when you move from 10,000 to 100,000 units. Their data shows that automated insert molding or two-shot overmolding becomes cost-competitive only after labor for manual loading outweighs the additional tooling investment—a threshold that varies by region and part complexity. This article is your evidence-based guide to navigating that threshold. We’ll compare overmolding and insert molding across cost, cycle time, and bond strength, using real-world data and cited engineering references, so you can make a choice that holds up from prototype to production.
How Overmolding and Insert Molding Actually Differ at the Tool Level
Before you can compare costs or cycle times, you need to understand what’s happening inside the mold. The two processes are often conflated, but at the tool level they are fundamentally different sequences.
Insert molding is a single-shot process. A pre-formed insert—typically metal, but sometimes a machined plastic or ceramic component—is placed into the mold cavity before the injection cycle begins. The mold closes, and molten thermoplastic is injected under pressure, flowing around the insert and encapsulating it. After cooling, you eject one integrated part. The bond is primarily mechanical: the plastic shrinks onto the insert, locking it in place through geometry (undercuts, knurls, threads). Protolabs’ design guidelines emphasize that a threaded insert placed atop a mold core relies on this mechanical interlock, and that chemical bonding between the plastic and metal is rarely the primary retention mechanism.
Overmolding, by contrast, is a sequential process. A previously molded rigid substrate (the first shot) is placed into a second mold, and a second polymer—often a soft thermoplastic elastomer (TPE) or silicone—is injected onto it. This can be done via two-shot molding (rotary platen or core-back), transfer overmolding (manual or robotic substrate transfer), or compression overmolding for rubber. The bond here can be mechanical, chemical, or both, depending on material compatibility. RpProto’s overmolding design guide details how two-shot and core-back processes enable fully automated production, while transfer overmolding offers lower tooling cost but longer cycle times due to substrate handling.
The table below puts typical process parameters side by side, drawing on published data and industry benchmarks.
| Parameter | Insert Molding (Manual Load) | Overmolding (Two-Shot Automated) | Notes & Source |
|---|---|---|---|
| Typical cycle time (small part) | 25–40 s (including 5–15 s manual insert placement) | 20–35 s (fully automated, no substrate handling delay) | Manual loading penalty can be eliminated with robotic insert feeders or vertical machines. LSRPF |
| Tooling cost range (single cavity) | $5,000–$25,000 | $15,000–$60,000+ (two-shot mold set) | Two-shot molds are more complex; core-back tools fall in between. APT-Mold |
| Bond strength (peel, ASTM D903) | Not applicable (mechanical interlock dominates) | 2–5 N/mm consumer; 5–10 N/mm automotive/medical | Chemical adhesion values from ZetarMold. Mechanical interlock for insert molding is quantified by pull-out force, not peel. |
| Material compatibility requirement | Low; insert material must withstand melt temperature and pressure | High; substrate and overmold must bond chemically or via designed interlocks | Mismatched pairs cause delamination. RpProto |
| Wall thickness rule | Plastic around insert: 0.5–1.5 mm minimum to avoid sink | Overmold layer: 0.5–2.0 mm typical; uniform thickness critical | Undercuts and draft angles follow standard DFM. RpProto |
| Insert preheating | Often recommended to reduce thermal shock and improve melt flow | Substrate preheating sometimes used for adhesion | Protolabs suggests preheating metal inserts to 120–150°C for high-temp resins. Protolabs |
Key takeaway: Insert molding adds a manual or automated loading step that directly impacts cycle time, while overmolding’s bond strength is a function of material chemistry and process control. If your design requires a peel strength above 5 N/mm, you’ll need to validate the overmolding material pair early—and you won’t get that from insert molding alone.
Cost, Cycle Time, and Bond Strength: A Side-by-Side Evidence Review
When you’re building a business case, the conversation inevitably turns to per-part cost and break-even volumes. The table below distills the key trade-offs, with footnotes anchored in published technical resources.
| Comparison Metric | Insert Molding | Overmolding (Two-Shot) | Selection Criteria & Failure Boundary |
|---|---|---|---|
| Per-part cost at low volume (1k–10k) | Lower (amortized tooling is cheaper; manual labor cost manageable) | Higher (tooling amortization dominates) | Below 10k units, insert molding almost always wins on unit cost. Advanced Plastiform |
| Per-part cost at medium volume (50k–100k) | Rising labor cost per part; may become uncompetitive | Tooling cost spread thin; automated cycle reduces labor | Break-even typically occurs in this range. APT-Mold |
| Per-part cost at high volume (>250k) | Often higher due to manual loading bottleneck unless fully automated | Lower; two-shot automation yields consistent, fast cycles | Automated insert molding can compete, but requires additional capital. Elastostar |
| Cycle time driver | Insert placement (5–15 s) + injection + cooling | Substrate transfer or rotary table index time (2–5 s) + second injection | Manual loading penalty is the primary cost lever. LSRPF |
| Bond mechanism | Mechanical interlock (shrink fit, knurls, undercuts) | Chemical adhesion and/or mechanical interlock | Delamination risk is high if materials are incompatible. RpProto |
| Design flexibility | Limited to insert geometry; changes require new insert tooling | Greater; overmold can be added later with less disruption | Overmolding supports late-stage design changes. Elastostar |
| Lead time (new tooling) | 4–8 weeks (simpler mold) | 8–14 weeks (complex two-shot mold set) | Insert molding favors speed to market. Advanced Plastiform |
| Mechanical load-bearing | Superior; metal inserts provide high tensile strength and resist stripping | Moderate; relies on plastic substrate strength | For repeated torque, insert molding is preferred. LZ Tooling |
The break-even volume isn’t a fixed number. In regions with low labor costs, manual insert loading can remain economical well past 100,000 units. But if you’re manufacturing in a high-cost country or need to eliminate human variability for medical or automotive traceability, the calculus shifts. APT-Mold’s analysis suggests that when the fully burdened labor rate exceeds $25/hour, automated overmolding often breaks even below 75,000 parts. Additionally, the bond strength requirement can force your hand: if you need a waterproof seal with a peel strength of 7 N/mm, insert molding alone won’t get you there—you’ll need a chemically bonded overmold, and that dictates the process from day one.
When to Bet on Insert Molding for Load-Bearing Parts vs. Overmolding for Sealing and Ergonomics
Choosing between these processes isn’t just a cost exercise; it’s a functional decision. Here’s a practical framework to guide your selection.
Choose insert molding when:
- You need embedded metal threads that will see repeated assembly torque. The metal insert resists stripping far better than any plastic boss. LZ Tooling’s structural comparison confirms that insert molding delivers superior mechanical load-bearing performance.
- Electrical conductivity or EMI shielding is required. A brass or stainless steel insert can serve as a grounding path.
- The part must survive high pull-out forces. Mechanical interlock, when designed with proper knurling and undercuts, provides predictable retention.
- Speed to market is critical. Simpler tooling and shorter lead times make insert molding the faster route for initial production runs. Advanced Plastiform notes that insert molding typically wins on lead time.
Choose overmolding when:
- You need a soft-touch grip, ergonomic handle, or vibration-damping surface. TPE over a rigid substrate is the classic example.
- A waterproof or dust-proof seal is required. Overmolding can create a continuous gasket without secondary assembly.
- You want to integrate multiple colors or functional layers in one automated cycle, reducing assembly steps.
- Design adaptability matters. Overmolding allows you to add features later in the product lifecycle with less disruption to the core tooling. Elastostar emphasizes that overmolding supports design changes with less disruption.
Material compatibility is the single most important technical variable. For overmolding, you need a substrate and overmold that either chemically bond or are mechanically locked via designed features. Common successful pairs include TPE over PC/ABS, TPU over nylon, and LSR over PBT. RpProto’s design guide provides a compatibility matrix and warns that mismatched pairs lead to delamination and warping. For insert molding, the primary concern is the insert material’s ability to withstand melt temperature and injection pressure without deforming or degrading. Preheating metal inserts to 120–150°C reduces thermal shock and improves melt flow around the insert, minimizing flash and sink marks. Protolabs recommends a minimum 0.05 mm interference fit for threaded inserts to prevent flash.
Tip: Validate bond strength early in DFM using ASTM D903 peel testing on production-representative samples. If your application demands 5–10 N/mm, don’t wait until tooling is cut to discover that your chosen TPE won’t stick to the substrate. ZetarMold’s process guide underscores that peel testing is the industry-standard gate for automotive and medical overmolding.
The table below summarizes the decision logic in a quick-reference format.
| Design Requirement | Recommended Process | Why |
|---|---|---|
| Metal threads with high torque resistance | Insert molding | Mechanical interlock prevents stripping; metal insert carries load. |
| Waterproof seal (IP67 or higher) | Overmolding | Chemical bond creates continuous gasket; no secondary O-ring. |
| Soft-touch grip on a rigid housing | Overmolding | TPE overmold provides ergonomic, non-slip surface. |
| Electrical grounding path through plastic | Insert molding | Conductive metal insert molded in place. |
| High-volume, low-labor-cost production | Insert molding (automated) or Overmolding | Automated insert feeders or two-shot overmolding eliminate manual loading penalty. |
| Late-stage design flexibility | Overmolding | Overmold can be added with new second-shot tooling; substrate unchanged. |
Overmolding vs. Insert Molding: Questions Engineers Ask Before Tooling
Here are the questions our engineering team hears most often from senior engineers and procurement leads—answered with data, not generalities.
- Q: At what annual volume does the higher tooling cost of two-shot overmolding break even with insert molding?
- Typically above 50,000–100,000 parts, depending on local labor rates for manual insert loading. APT-Mold’s financial analysis shows that automated insert molding or two-shot overmolding becomes cost-competitive when labor costs outweigh the additional tooling investment. In high-labor-cost regions, the break-even can be as low as 30,000 units.
- Q: How do I validate bond strength for a medical device overmold?
- Use ASTM D903 peel testing. Target 5–10 N/mm for critical medical or automotive applications, as cited by ZetarMold. Always test on production-representative samples with the exact substrate and overmold materials, processed under production conditions. Include environmental aging (thermal cycling, humidity) in your validation plan.
- Q: Can I overmold onto a metal insert, or is that always insert molding?
- Placing a metal insert into the mold and injecting plastic around it is insert molding. Overmolding specifically refers to molding a second polymer onto an existing plastic part. If you later overmold a TPE onto a plastic part that already contains a metal insert, that hybrid is still overmolding of the second shot. The distinction matters for tooling and process control.
- Q: What is the typical cycle time penalty for manual insert loading?
- Manual loading adds 5–15 seconds per cycle. For high-volume production, this can be mitigated with automated insert feeders, vertical injection machines, or by switching to a two-shot overmolding process that eliminates the loading step. LSRPF’s process comparison notes that even a 10-second penalty can add $0.05–0.15 to the part cost at scale.
- Q: How do I prevent flash on metal inserts during insert molding?
- Maintain tight tolerances on the insert and mold shut-off surfaces, preheat inserts to reduce thermal shock and improve melt flow, and design adequate draft and venting. Protolabs’ design guidelines recommend a minimum 0.05 mm interference fit for threaded inserts and proper venting to avoid gas traps that cause flash.
- Q: Is it possible to switch from insert molding to overmolding later in the product lifecycle?
- Yes, but it requires new tooling. Overmolding supports design changes with less disruption, as noted by Elastostar, making it easier to add features like soft-touch grips later. However, the substrate geometry must be designed from the start to accommodate a second shot—draft, gate location, and shut-off surfaces all need to be considered.
References & Further Reading
- Overmolding VS Insert Molding Services: Custom Manufacturing For Mass Production – LSRPF
- Overmolding Design Guide: Process, Materials & DFM Rules – RpProto
- Insert Molding vs. Overmolding: Differences & When to Use Each – RpProto
- Overmolding vs. Insert Molding: Choosing the Best Multi-Material Process – APT-Mold
- Overmolding vs Insert Molding: What’s the Difference? – Advanced Plastiform
- Insert Molding Vs Overmolding: Process Selection Guide – Elastostar
- Insert Molding vs Overmolding: Key Differences – LZ Tooling
- Overmolding Process Guide: Materials, Design & Applications – ZetarMold
- Overmolding & Insert Molding Design Guidelines – Protolabs
Ready to put these data to work on your next multi-material project? Whether you’re leaning toward insert molding for load-bearing threads or overmolding for a waterproof seal, our engineering team can help you validate bond strength, optimize cycle time, and hit your target cost. Get a quote and DFM review today.